


WEST SYSTEM® | Epoxy Basics | Guide 07
Installing screws and other threaded fasteners with epoxy dramatically improves load-carrying capacity, because the fastener's load is spread into a much greater area of the substrate.
There are several levels of hardware bonding, and which one you use comes down to the load on the hardware — from simply wetting out a pilot hole, through oversized epoxy-filled holes, to bonding the hardware base itself or casting a base under it. Start with the selection table below.
Method from WEST SYSTEM instructional material. Refer to the current technical data sheet for full product specifications and suitability.
5 methods
| Method | Use it when | Steps |
|---|---|---|
| Basic fastener bonding | You want better pullout strength and a waterproof connection from a standard pilot hole, or you are re-fixing a stripped screw hole. | 2 |
| Advanced fastener bonding | The fastener carries real load and you want more substrate area and more epoxy around it. | 5 |
| Bonding hardware | The fitting itself needs a solid bearing surface, the timber underneath needs sealing, or the mounting surface is curved or uneven. | 6 |
| Casting an epoxy base | The hardware sits on a curved or out-of-level surface, or must be mounted at an angle to it. | 6 |
| Bonding studs | The hardware must come off again — engine, motor and machine installations. | 4 |
Australian WEST SYSTEM® fillers. The WEST SYSTEM instructions refer to US filler numbers. These are the Australian equivalents supplied by ATL Composites — use them wherever a US number appears on this page.
| US WEST SYSTEM® filler | Australian equivalent | Application |
|---|---|---|
| 403 Microfibres | 413 Microfibre Blend | Structural bonding |
| 404 High Density | 413 Microfibre Blend | Hardware bonding |
| 405 Filleting | 411 Microsphere Blend | Filleting and edge gluing in strip planking |
| 406 Colloidal Silica | 413 Microfibre Blend | Structural bonding |
| 407 Low Density | 417 Low Density Filler | Fairing under dark coloured paints |
| 410 Microlight | 410 Microlight | Fairing under light coloured paints |
From the WEST SYSTEM 400 Fillers page. Refer to the current technical data sheet for full product specifications and suitability.
2 steps
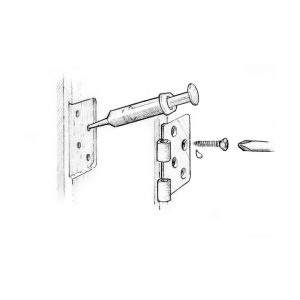
The easiest method: wet out stripped fastener holes and new pilot holes before installing the screws. Epoxy penetrates the fibre around the hole, effectively increasing the fastener diameter, provides a stronger interface with the threads than timber fibre, and keeps water out.
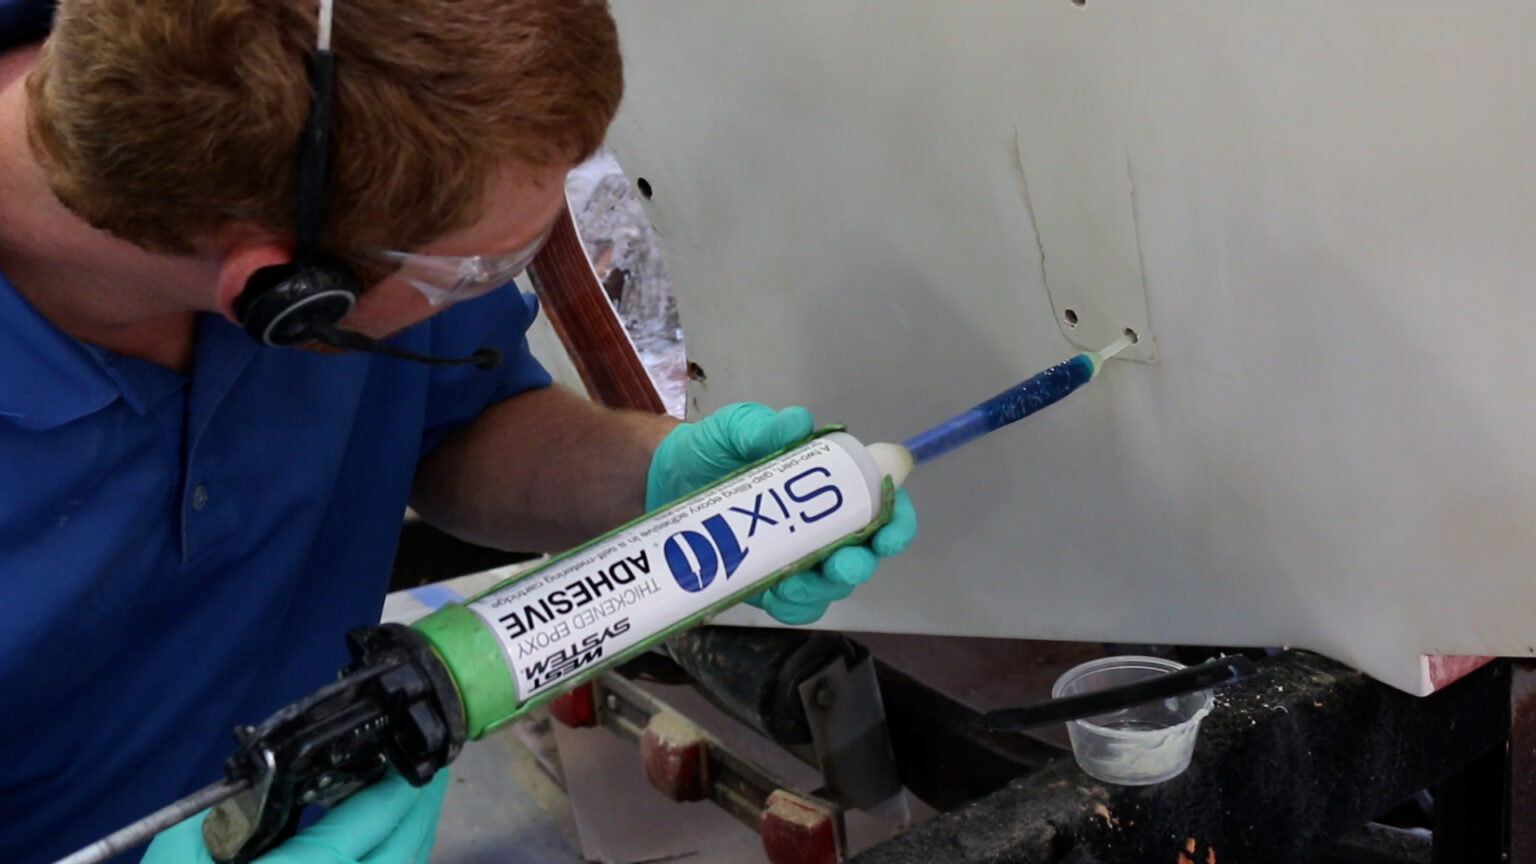
Wet out a standard-size pilot hole, working the mixture well into the hole with a pipe cleaner or syringe. For stripped or oversized holes, thicken a second coat of epoxy as necessary.
Insert the fastener in the hole and allow the epoxy to cure before loading it.
5 steps
For greater strength and stability, drill oversized holes to increase the exposed substrate area and the amount of epoxy around the fastener.
Drill oversized holes 2/3 to 3/4 of the depth of the fastener. The diameter may be up to twice the fastener diameter.
Drill a normal-sized pilot hole at the bottom of the oversized hole, to the full length of the fastener. That pilot hole holds or clamps the hardware in position until the epoxy cures.
If the hardware can be clamped by other means, the oversized hole can be extended to the end of the fastener.
Wet out the holes and the fastener with epoxy, allowing it to soak thoroughly into the exposed substrate.
Fill the hole with an epoxy and adhesive filler mixture — 413 Microfibre Blend in the Australian range (404 High Density or 406 Colloidal Silica in the US range).
Install the fasteners with just enough force to hold the hardware in place, then allow the epoxy to cure thoroughly before applying any load.
6 steps
Bonding the hardware base directly to the surface goes a step beyond bonding the fasteners alone: it increases load capacity, provides a solid bearing surface, seals the timber underneath and lasts longer. It is especially useful on curved, uneven or out-of-level surfaces.
Prepare both the mounting surface and the hardware base for good epoxy adhesion — see Surface Preparation.
Wet out the oversized hole with epoxy and allow it to soak into the exposed end grain, as with fastener bonding.
Coat the bottom contact surface of the hardware with unthickened epoxy, then wire-brush or sand the wet epoxy into the surface with 50-grit paper.
Inject a non-sagging epoxy and filler mixture into the hole — 413 Microfibre Blend in the Australian range. Use enough that no voids remain once the fastener is inserted, and coat the bottom of the hardware and the fastener threads with the thickened mixture as well.
Place the hardware in position, then insert and tighten the fasteners until a small amount of the epoxy mixture squeezes out of the joint.
Remove the excess epoxy or shape it into a fillet. Allow at least 24 hours' cure before applying load to the hardware, and longer in cooler weather.
6 steps
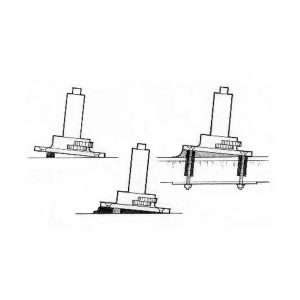
Use thickened epoxy to cast a base under the hardware when mounting to a curved or uneven surface, or when the hardware has to sit at an angle to it.
Prepare the fasteners, the holes, the substrate and the hardware base exactly as for hardware bonding above.
Bond small blocks to the substrate to support the base at the height and position you want — a winch base, for example.
Apply enough thickened epoxy to cover the blocks.
If the gap between the base and the surface is more than about 13 mm (1/2 in), fill it in two separate layers to avoid an exotherm.
Place the hardware in position, resting on the blocks, and install the fasteners.
Smooth the excess epoxy into the fillet shape you want around the base.
Allow the epoxy to cure fully before loading, and protect any exposed epoxy from UV — see Finish Coatings.
4 steps
Bond threaded rods or studs into the substrate instead of bolts or screws, and attach the hardware with nuts. This suits many engine, motor and machine installations. Coat the hardware base with wax or mould release to keep it removable — the hardware is not bonded to the substrate, but the epoxy still provides a bearing surface that matches and supports it exactly.
Wax the upper ends of the studs, above the surface, and clean the lower ends that will be bonded. Place a nut on each stud, positioned with the top of the nut slightly above the surface, and add a washer.
Fill the hole two-thirds full with epoxy, allow it to penetrate the substrate, and refill as necessary.
Wet out the lower end of the stud and push it into the epoxy-filled hole. Top off the hole or clean away excess epoxy as necessary.
Allow the epoxy to cure thoroughly before attaching the hardware and tightening the nuts.
Removal
If you know in advance that a fastener will need to come out, coat the threads with wax or mould release — enough contamination to prevent a good epoxy bond.
To remove a permanently bonded fastener, apply heat to the head with a soldering iron or propane torch, using a heat shield to protect the surrounding area. The heat travels down the fastener and softens the epoxy in contact with it; at about 49 °C (120 °F) the epoxy should soften enough for the fastener to be backed out. Allow more time for heat to travel down longer or larger-diameter fasteners.
Further reading. WEST SYSTEM technical advisor Tom Pawlak's account of hardware bonding in practice appears in Epoxyworks issue 13.
4 questions
Wet out the hole with epoxy, working it in with a pipe cleaner or syringe, then apply a second thickened coat to fill the oversized hole before installing the screw. The epoxy penetrates the surrounding fibre and effectively increases the fastener diameter.
Drill it 2/3 to 3/4 of the depth of the fastener, up to twice the fastener diameter, with a normal-sized pilot hole below it running the full length of the fastener to hold the hardware while the epoxy cures.
Both are US products. The Australian equivalent for hardware bonding and structural bonding is 413 Microfibre Blend from the WEST SYSTEM 400 Fillers range supplied by ATL Composites.
Allow at least 24 hours' cure before applying load, and longer in cooler weather. To take a bonded fastener out later, heat the head until the epoxy reaches about 49 °C (120 °F) and back it out.
Supplied by ATL Composites
Resin & hardeners
105 Epoxy Resin with 205 Fast, 206 Slow, 207 Special Clear and 209 Extra Slow Hardeners.
Fillers
Australian range: 410 Microlight, 411 Microsphere Blend, 413 Microfibre Blend and 417 Low Density Filler.
Application tools
Static mixers, mixing sticks, flexible squeegees, roller frames and covers, and mini syringes for filling holes.
Browse the full WEST SYSTEM range supplied by ATL Composites.
View the WEST SYSTEM rangeGuide only. Adapted from WEST SYSTEM instructional material (original guide). Read the product label and the current technical and safety data sheets before use. Structural hardware installations should be engineered for their loads.
Guide 07 of 11
Discuss your process requirements with our technical team on +61 7 5563 1222 or [email protected].
WEST SYSTEM® and 105 Epoxy Resin® are registered trademarks of Gougeon Brothers, Inc., USA. Manufactured and distributed in Australia by ATL Composites Pty Ltd. Diagrams and instructions courtesy of WEST SYSTEM.