


WEST SYSTEM® | Epoxy Basics 03 of 11
Fillers thicken epoxy so it will fill gaps, hold a fillet or fair a surface. Additives change what a coating does. Both go in after the resin and hardener are fully mixed.
Throughout the WEST SYSTEM manuals, neat epoxy means mixed resin and hardener with no filler; thickened epoxy means the same mixture with filler blended in.
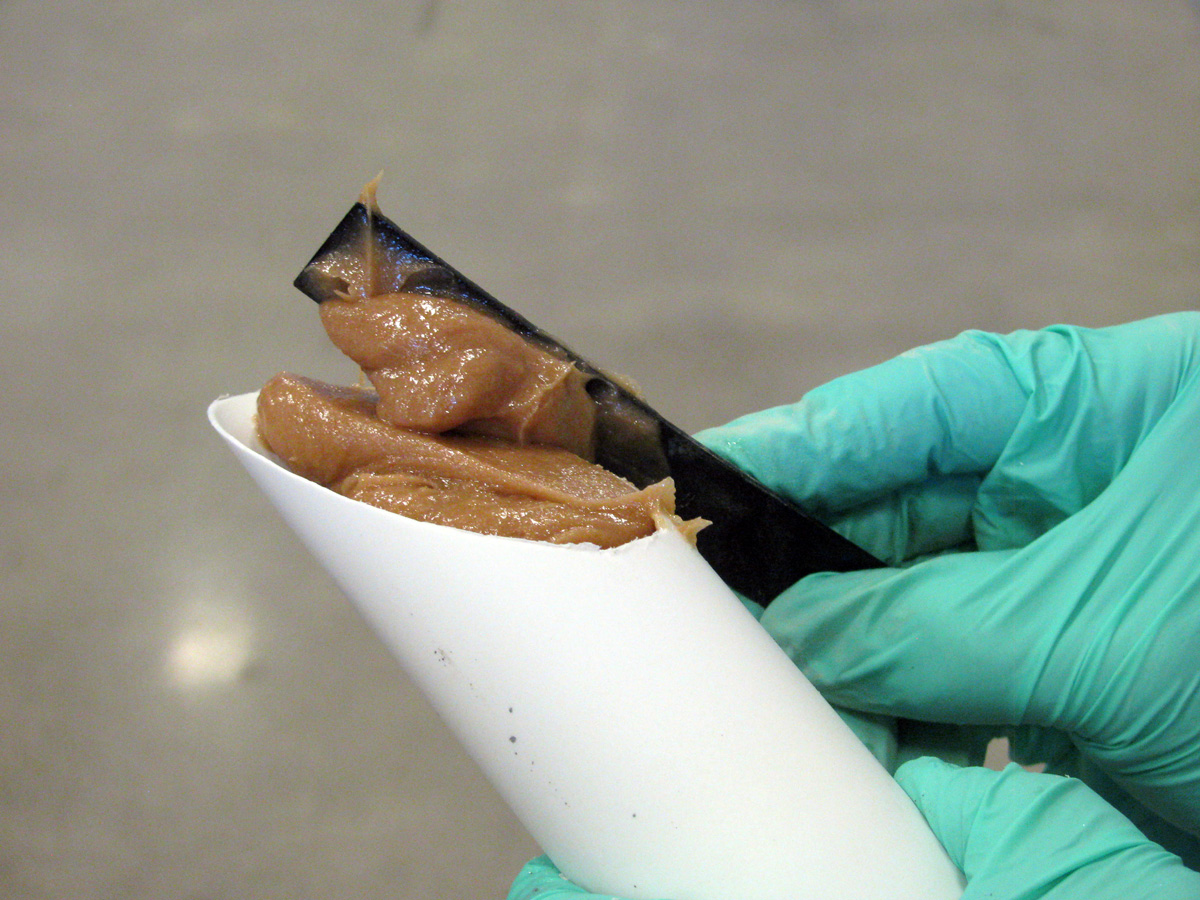
Guide only — refer to the current technical data sheet for full product specifications and suitability.
2 steps
Select a filler for the job, then thicken the mixture to the consistency the job needs. The amount of filler controls the thickness — there is no strict formula, and your eye is the instrument.
Mix the quantity of resin and hardener you need thoroughly, before any filler goes in. Start with a small batch and leave room in the pot for the filler.
Add the filler in small handfuls or scoops until the mixture reaches the consistency you want. Make sure all of it is thoroughly blended before you apply the mixture.
For maximum strength, add only enough filler to completely bridge the gap between the surfaces without sagging or running out of the joint. A small amount should squeeze out when the joint is clamped. For thick mixtures, do not fill the pot more than a third full of epoxy before adding filler.
For fairing compounds, stir in as much 417 Low Density Filler or 410 Microlight Filler as will blend in smoothly — the thicker the mix, the easier the sanding. Spread the mixture into a thinner layer, around the inside of the pot or onto a flat non-porous palette, to extend its working life.
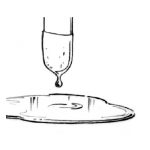
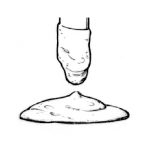
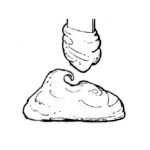
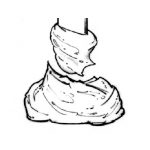
Syrup · Catsup · Mayonnaise · Peanut butter
| Consistency | Behaviour | Use it for |
|---|---|---|
| Syrup Unthickened | Drips off vertical surfaces | Coating, wetting out before bonding, applying fibreglass, graphite and other fabrics |
| Catsup Slightly thickened | Sags down vertical surfaces | Laminating and bonding flat panels with large surface areas, syringe injection |
| Mayonnaise Moderately thickened | Clings to vertical surfaces; peaks fall over | General bonding, filleting, hardware bonding |
| Peanut butter Maximum thickness | Clings to vertical surfaces; peaks stand | Gap filling, filleting, fairing, bonding uneven surfaces |
Read this before ordering
WEST SYSTEM instructional material written in the United States refers to US filler numbers. The range ATL Composites supplies in Australia uses different numbers for the same jobs.
| USA WEST SYSTEM® filler | Australian equivalent | Application |
|---|---|---|
| 403 Microfibres | 413 Microfibre Blend | Structural bonding |
| 404 High Density | 413 Microfibre Blend | Hardware bonding |
| 405 Filleting | 411 Microsphere Blend | Filleting and edge gluing in strip planking |
| 406 Colloidal Silica | 413 Microfibre Blend | Structural bonding |
| 407 Low Density | 417 Low Density Filler | Fairing under dark coloured paints |
| 410 Microlight | 410 Microlight | Fairing under light coloured paints |
Equivalents from the ATL WEST SYSTEM 400 Fillers page. Confirm the selection for your application against the current technical data sheet, or ask ATL's technical team.
Coatings, not thickness
Additives give a coating additional physical properties — abrasion resistance, colour, UV performance. They are blended into mixed epoxy in the same two-step process as fillers, but they are not designed to thicken it. Follow the mixing instructions on the individual additive container. See WEST SYSTEM 500 Additives.
Set-up & procedure
A drill-motor mixer at high speed throws lightweight filler into the air and flings clumps of thickened epoxy around the shop. Planning the set-up is most of the job.
If the project needs several batches of the same material, settle on a recipe: so much epoxy, so much filler per batch. Add measured amounts to the first batch until the viscosity suits the job, keeping track of the total. Every later batch can then take all its filler at once and come out the same.
The WEST SYSTEM Technical Manual & Product Guide includes a Filler Proportion Guide with starting quantities for each filler and viscosity. Treat it as a guide, and still thicken the first batch in stages.
Get the batch out of the bucket. A large contained mass of thickened epoxy holds its own exothermic heat. Spread or apply it quickly so it does not overheat.
Quality control matters more than equipment: the resin and hardener must be mixed thoroughly, and a powerful mixer will not compensate for a poor ratio or a rushed mix. Method adapted from Big Batch Mixing Methods by Tom Pawlak, Epoxyworks issue 9.
4 questions
Enough to reach the consistency the job needs, and no more. For bonding, that means enough to bridge the gap without sagging or running out of the joint, with a small amount squeezing out under clamping pressure. There is no fixed ratio — judge it by eye against the four consistency references.
No. Always mix resin and hardener completely first. Filler makes it impossible to see whether the two components are properly blended, and an incomplete mix will not reach full strength.
413 Microfibre Blend covers all three in the Australian range — structural bonding and hardware bonding. 405 Filleting is replaced by 411 Microsphere Blend, and 407 Low Density by 417 Low Density Filler.
410 Microlight under light-coloured paints and 417 Low Density Filler under dark-coloured paints. Blend in as much as will mix smoothly — the thicker the fairing compound, the easier it sands.
Supplied by ATL Composites
Resin & hardeners
105 Epoxy Resin with 205 Fast, 206 Slow, 207 Special Clear and 209 Extra Slow Hardeners.
Fillers
Australian range: 410 Microlight, 411 Microsphere Blend, 413 Microfibre Blend and 417 Low Density Filler.
Additives
423 Graphite Powder, and 501 and 502 Pigments to tint the epoxy mixture.
Application tools
Static mixers, mixing sticks, flexible plastic squeegees, roller frames and covers, and mini syringes.
ATL Composites manufactures and distributes WEST SYSTEM epoxy in Australia.
View the WEST SYSTEM rangeGuide only. Refer to the current technical data sheet for full product specifications and suitability. Adapted from WEST SYSTEM instructional material (original guide). Read the product label and the current technical and safety data sheets before use.
Guide 03 of 11
Talk to ATL Composites about your application on +61 7 5563 1222 or [email protected].
WEST SYSTEM® and 105 Epoxy Resin® are registered trademarks of Gougeon Brothers, Inc., USA. Diagrams and instructions courtesy of WEST SYSTEM. Manufactured and distributed in Australia by ATL Composites Pty Ltd.